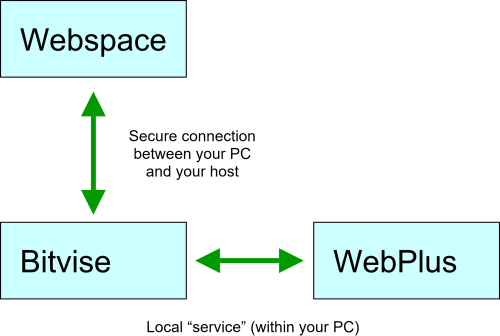
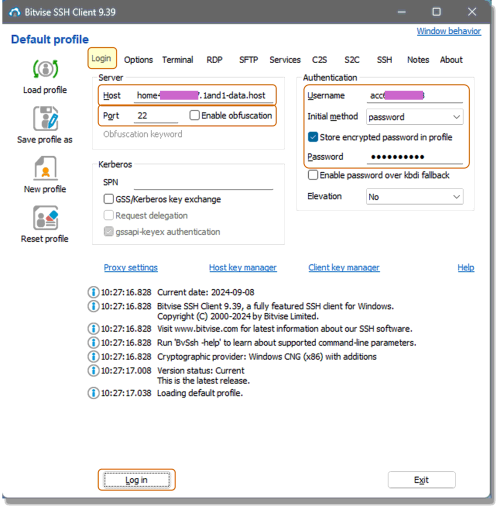
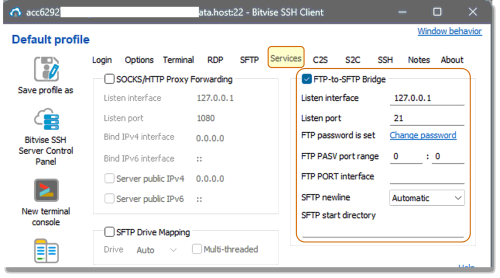
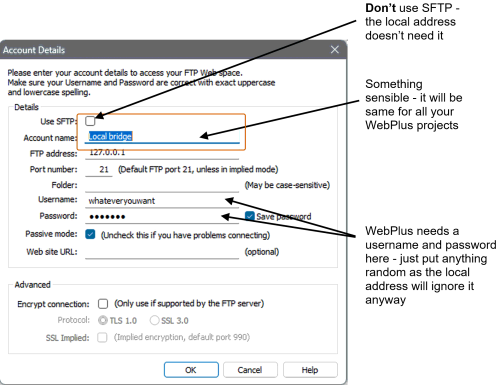
Multiple sites: you can set up Bitvise to open the correct webspace and its associated webplus project all in one click:
The connection settings in WebPlus stay the same for all your WebPlus projects / sites since WebPlus always connects to Bitvise. Bitvise manages the secure web access. So if you have more than one WebPlus project / website to manage, you will need to create individual sets of webspace login details (called profiles) in Bitvise which correspond to each of the WebPlus projects you have.
As WebPlus no longer manages the connection to your webspace, you need to ensure you have the correct WebPlus project open!
However, there is a way to get Bitvise to launch each of your web projects from a shortcut with one click and it will go to the correct web space and open WebPlus for you at the correct project. Once you’ve set this up you will be amazed how convenient it is!
________________________________
Setting up one-click access for your sites
For full details on setting up Bitvise see the first post. The following walks you though storing a group of sites.
1 - In Bitvise, assuming you have your first site set up (see previous post on how to do that) save the Bitvise profile with an appropriate name. It’s helpful to save the profile to a folder you can find easily as you’ll need it later.
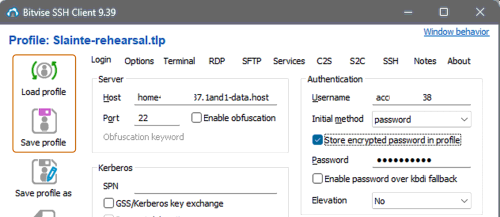
2 - Stay in Bitvise and enter the username and password for your next new directory / webspace (usually these are the only two details you need to change) and save the new Bitvise profile with an appropriate name. Repeat this for each webspace you need to access.
Now we have a set of Bitvise profiles, we need to create shortcuts for each profile and pair it with its corresponding WebPlus project.
3 - In windows explorer find your saved Bitvise profile files (they are *.tlp files, the folder you stored them in) and create a shortcut for each of those *.tlp files. Put the shortcuts somewhere useful (on your desktop).
4 - Open Bitvise via one of the shortcuts.
5 - In the options tab on Bitvise, click on "Execute local command" and navigate to the Serif program file (the .exe file) on your PC. Double-click on it and it will save the path to the WebPlus software. Leave Bitvise open at this tab. Open windows explorer and locate the .wpp file associated with that project, right-click the .wpp file and select "copy path".
Go back to Bitvise (options tab) and insert a space after the path to the WebPlus program, then paste your path to your .wpp document.
The complete path in “options” will look something like this: C:\Program Files\Serif\WebPlus\X8\Program\WebPlus.exe "D:\Slainte online\Slainte-rehearsal.wpp" - note the quotes around the path to the project.
Click save to save that Bitvise profile.
Now repeat from step 4 for each of your sites / bitvise profiles.
________________________________
To use (multiple sites):
Now when you click on each shortcut and log in to Bitvise (just click "enter" when Bitvise opens), it will automatically connect to the correct webspace for that profile and in addition it will automatically start WebPlus and load the project you entered on the options tab - no danger of accidentally connecting a project to the wrong webspace!
While WebPlus doesn't create responsive sites, it's perfect for when we upload rehearsal tracks for example. No cookies so no need to put any tedious consent. It's so fast to load those pages - the internet like it used to be!
